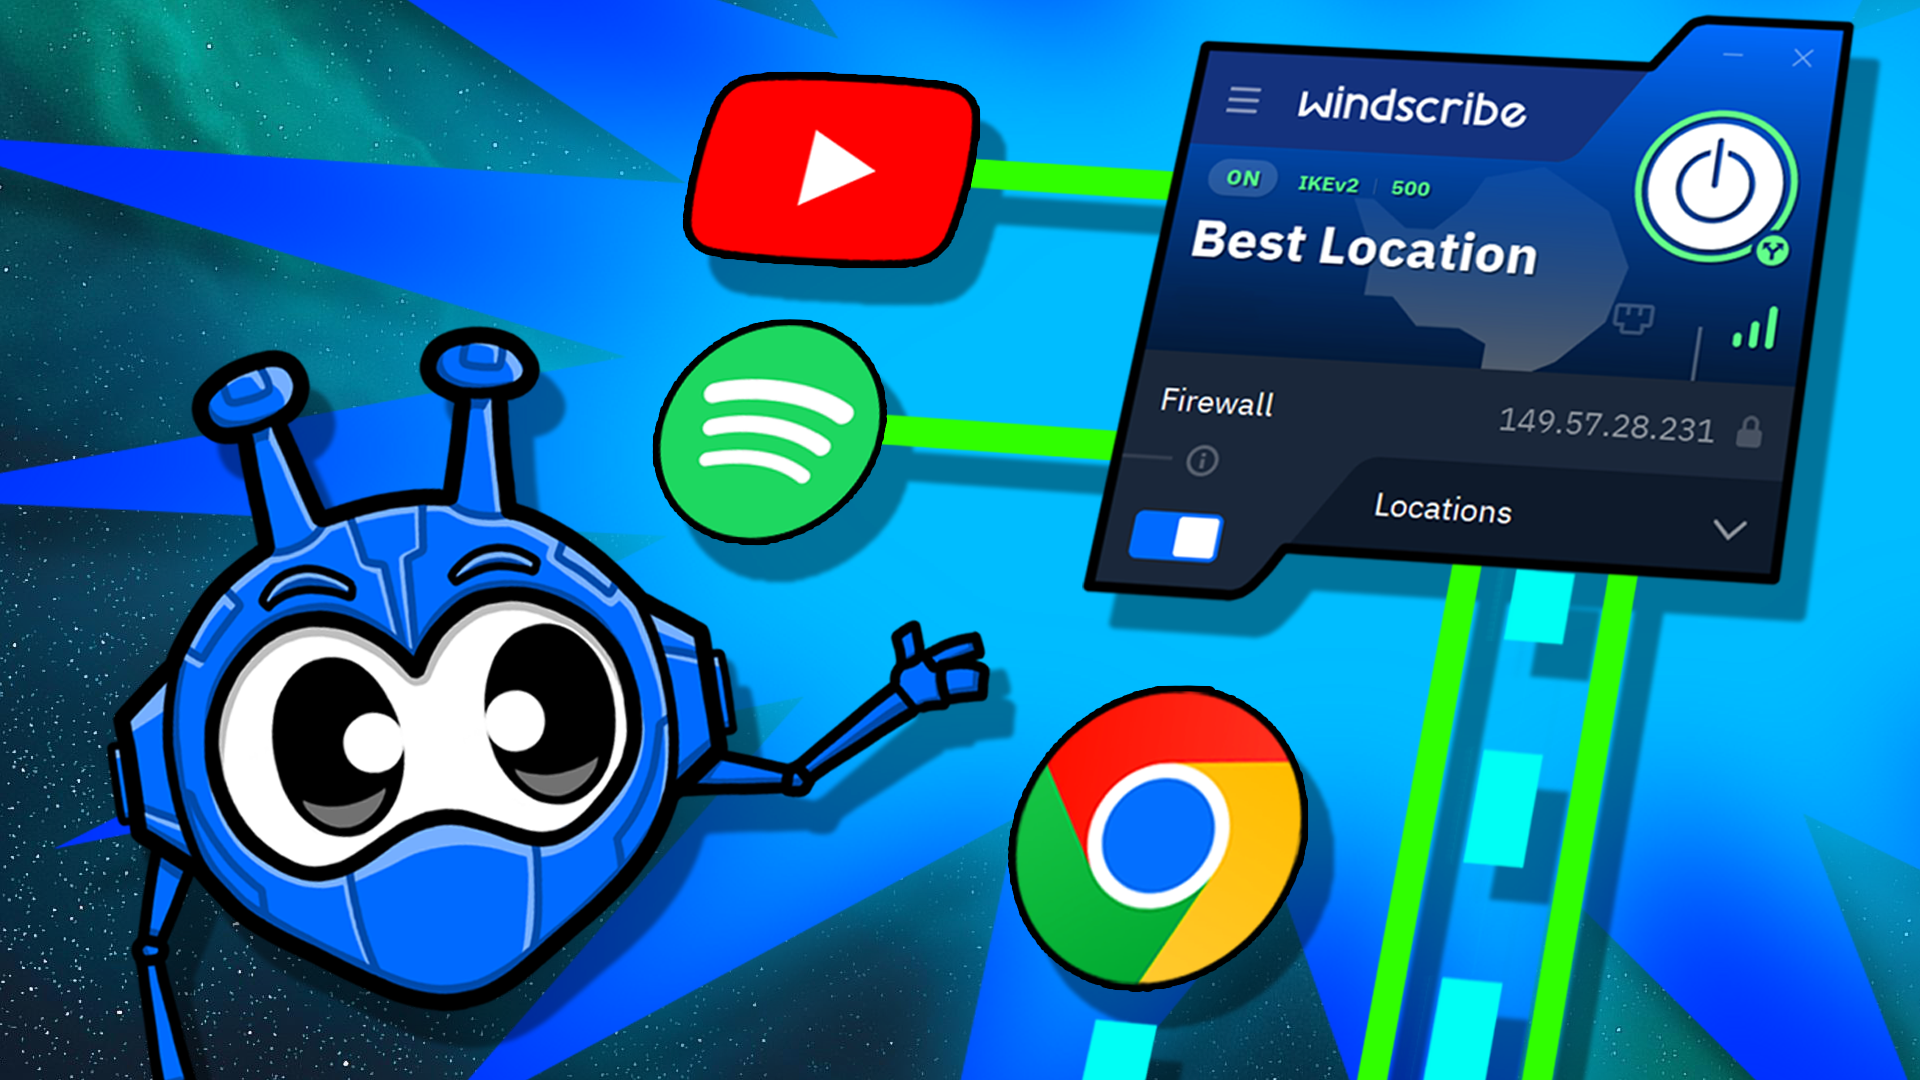
Have you ever looked around the Windscribe app and wondered to yourself - what exactly is Split Tunneling and how does it work? Well, you aren’t alone, and I’m here to show you what it’s all about.
This powerful feature, available on Windows, MacOS*, and Android apps, allows you to decide which internet traffic goes through Windscribe and which doesn’t. For example, you may want your Netflix traffic to connect directly to the internet through your internet service provider while wanting your email traffic to connect through the virtual private network.
Usually, when you connect to Windscribe via the Desktop or Android app, all internet traffic goes through the VPN. However, you may not want this - with the use of Split Tunneling, you can decide which domains, apps, and IPs use Windscribe and which do not.
We’ve got a couple handy little videos to help you better understand what Split Tunneling is and how to set it up:
Split Tunneling on Desktop
Split Tunneling on Android
We hope this helps break things down for you! If you prefer step-by-step visuals, check out the guide on our Knowledge Base: What Is Split Tunneling and How To Use It
And of course, if you have any questions or need some help setting things up, just reach out to Support and we will be happy to give you a hand!
*Due to some limitations on MacOS, Split Tunneling can only be done at the IP/Hostname level. Blame Apple for this. And you can also blame Apple for no Split Tunneling on iOS. We aren’t happy about it either.


